July 27th, 2012 § Comments Off on Flour Tortillas § permalink
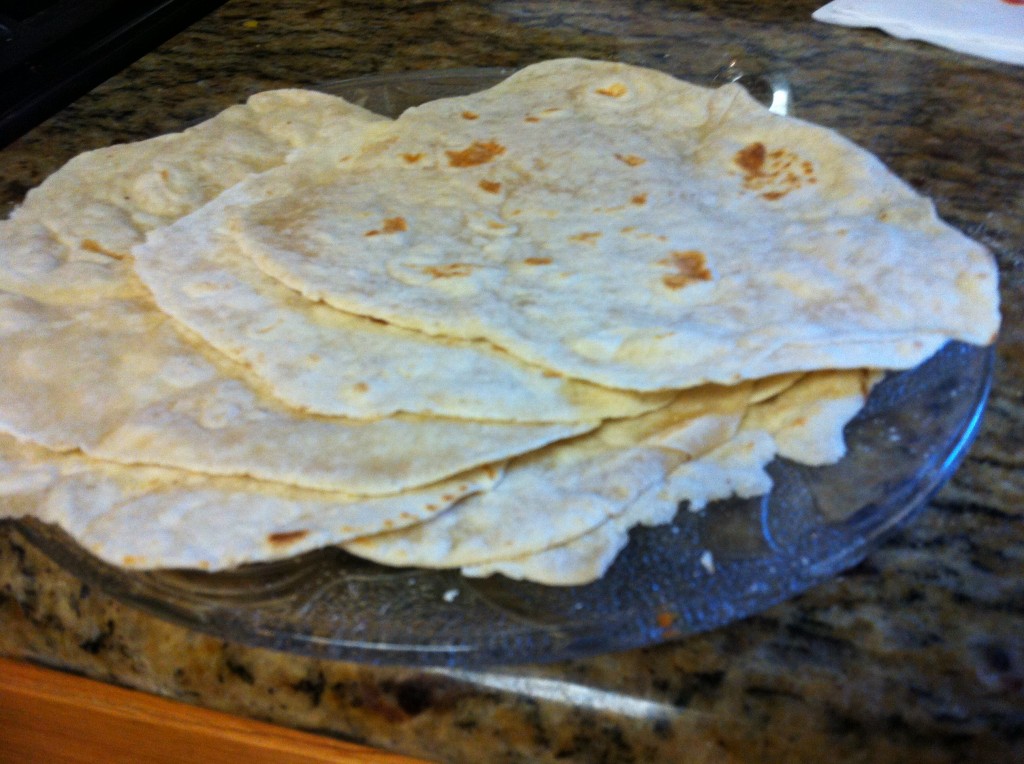
Oh. My. Goodness. Â These are SOOOO Good.
I was out of flour tortillas and my boys wanted some bean and cheese burritos. Â I Â really didn’t want to trudge out to the store to get any, so, on a whim I whipped out my best buddy, Google and searched for a recipe. Â I had tried making them a long time ago and they tasted like a floury piece of rubber. Not only that I remember them being a WHOLE lot of trouble. Â But Cameron’s big brown eyes were pleading so I thought, well I’ll just try it again.
I found this recipe from Chef John and only changed it a little.  They were super easy and tasted better than our favorite Mexican Restaurant’s tortillas. He suggests a tortilla press but I didn’t have one so so I used a rolling pin instead.  Mine were not perfect circles but they tasted so good no one cared.  I’ve made these a few times now and will NEVER EVER buy store bought ones again.
(Hint: Â I read that someone said you could take two cast iron skillets and press your tortillas that way. Â I haven’t tried it yet but I imagine it would be easier than using a rolling pin.)
Ingredients:
1 3/4 cups flour
3/4 tsp. salt
1/4 tsp baking powder
5 TBL vegetable shortening
1 cup warm water
Directions
Mix dry ingredients.
With a pastry cutter, grind the shortening into the flour mixture until it looks like a crumbly mixture.
Make a well in the center and add water.
Mix until you have a soft dough. Â Turn onto a floured work surface.
Kneed for about 3 minutes.
Put bowl over the dough and let it rest for 15 minutes.
Cut the dough into 8 equal pieces. Â Pull out the piece ou will be working with and cover the rest with the bowl.
Either use your tortilla press or roll out until very thin.
Heat a non stick skillet on medium high. Â Place your tortilla on the skillet and let cook on one side until it puffs up. Â Flip. Â Cook for a few more seconds on the second side.
Repeat with remaining dough.
Makes 8 flour tortillas.
I doubled this once and the tortillas turned out just as good. Â I may need to triple the recipe next time because when I made 16 they were gone in about 5 minutes! Â Hope you enjoy!
July 26th, 2012 § Comments Off on The Alternative Playground § permalink

When I was a kid I remember hanging around outside our little house on Saturday mornings waiting for the other kids to come out and play. Â Off in the distance I might see a bicycle spinning towards me and I would get so excited thinking it might be a kid that wanted to play. Â Any kid would do. Â Anyone that was relatively close to my age and was as bored as I was.
We were dependent upon the kids in the neighborhood or the kids we met at school to be our friends. Never mind if they shared any of the same interests. Â Of course, I often found other girls that liked the same games I did or the same music. Â But still, there were only a very few that I ever really clicked with.
Fast forward 30 plus years.
As I sit writing this post my kids are on Skype with kids that they met over the internet.  They’ve met kids from Canada, the UK, the US and Indonesia.  They love the game Minecraft and thanks to the Unschooling Gamers yahoo group, they have hooked up with kids that share their interest and passion for their game.
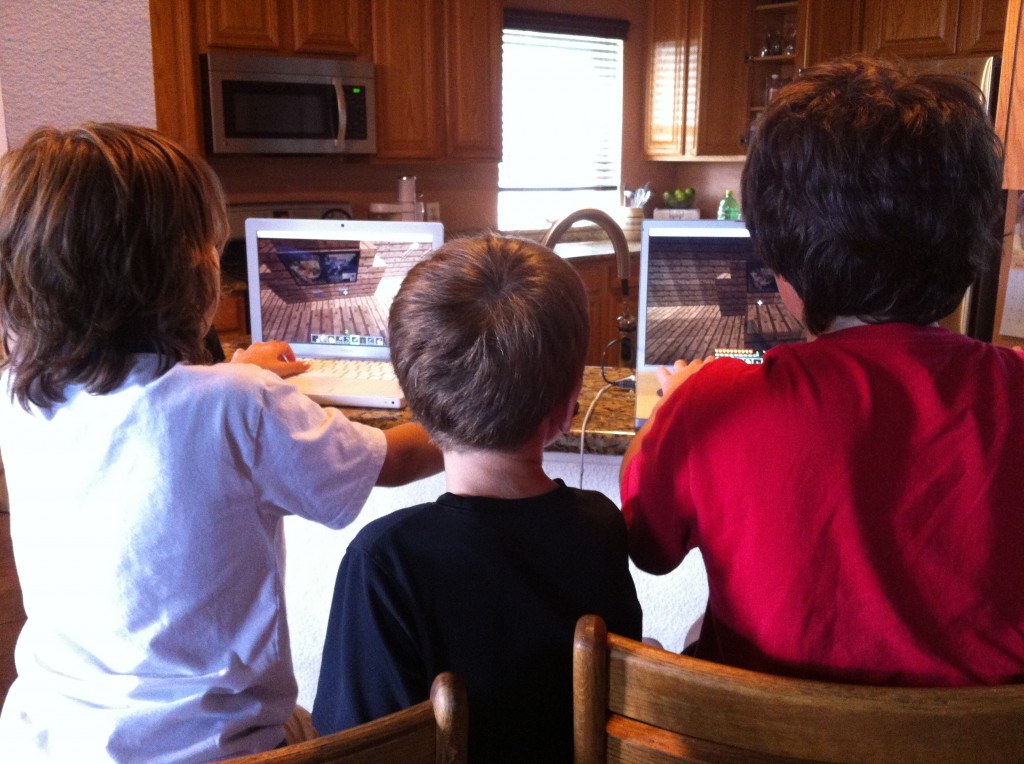
I’ve never seen kids more excited to wake up and hook up with their friends. Â They can play any time of day or night and enjoy the company of a friend from some corner of the world. Â They have learned so much geography since playing with these kids. Â They are interested in finding out more about where their friends are from.
Listening to them play reminds me so much of playing on the playground when I was a child. Â “Let’s build a pirate ship!” we would yell to each other, or “watch how high I can jump!” Â living in the world of our imaginations.
I hear my boys doing the same. Â With a friend each on Skype and the family Minecraft server running, they will yell at each other to “follow me” or “watch what I can do!”
They still have local friends and they still sit outside sometimes wanting to play with others. Â But their options for finding friends does not stop there, as it did when I was a child. Â Aside from pen pals, I never even dreamed of being close friends with someone across the world. Â Now it is possible. Â Now it is a reality for our kids.
They’re enjoying the world wide virtual playground and loving it. Â I think I’ll go join them.
July 26th, 2012 § Comments Off on Tomato Basil Soup § permalink
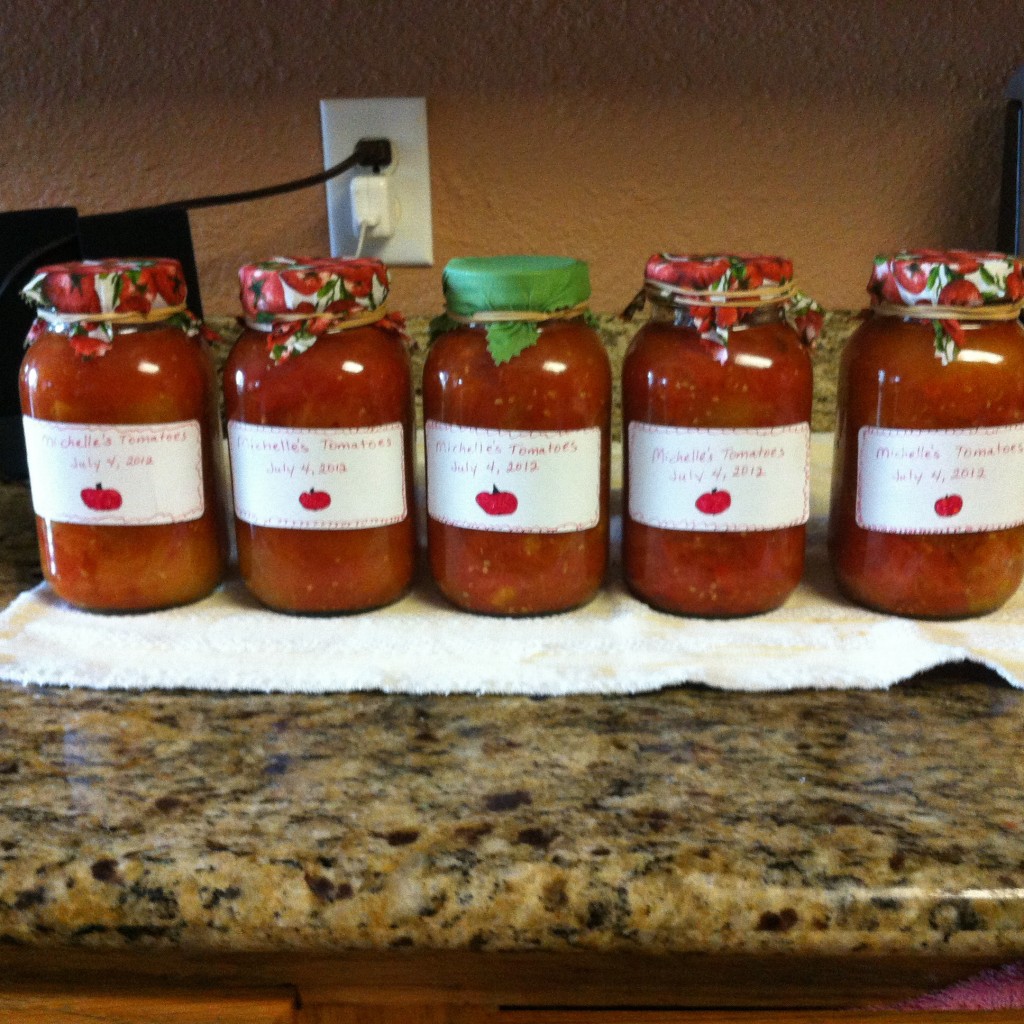
This is so great with a crisp, green veggie salad. Â Add a loaf of french bread and you have a hearty winter meal. Â (Or, we have it in the summer, when our tomato plants are producing well.)
INGREDIENTS:
2 Large Cans of diced Tomatoes (Or canned tomatoes from the garden) Â About 5 cups of cooked tomatoes with their juices.
About 18 Leaves of Fresh Basil
1 Stick Butter
2/3 cup heavy cream
Cracked black pepper
In a saucepot, heat tomatoes and basil over medium heat until basil is wilted. Â Remove from heat and pour tomatoes and basil into a blender. Â Blend until pureed.
Pour contents of blender back into the saucepan and cook over medium low heat. Â Chop butter and add to pot. Â Stir until butter is melted.
Add cream. Â Stir until well blended. Â Cook over low heat for about five minutes. Â Pour into serving bowls and sprinkle with cracked pepper.
July 26th, 2012 § Comments Off on Veggie Fried Rice § permalink
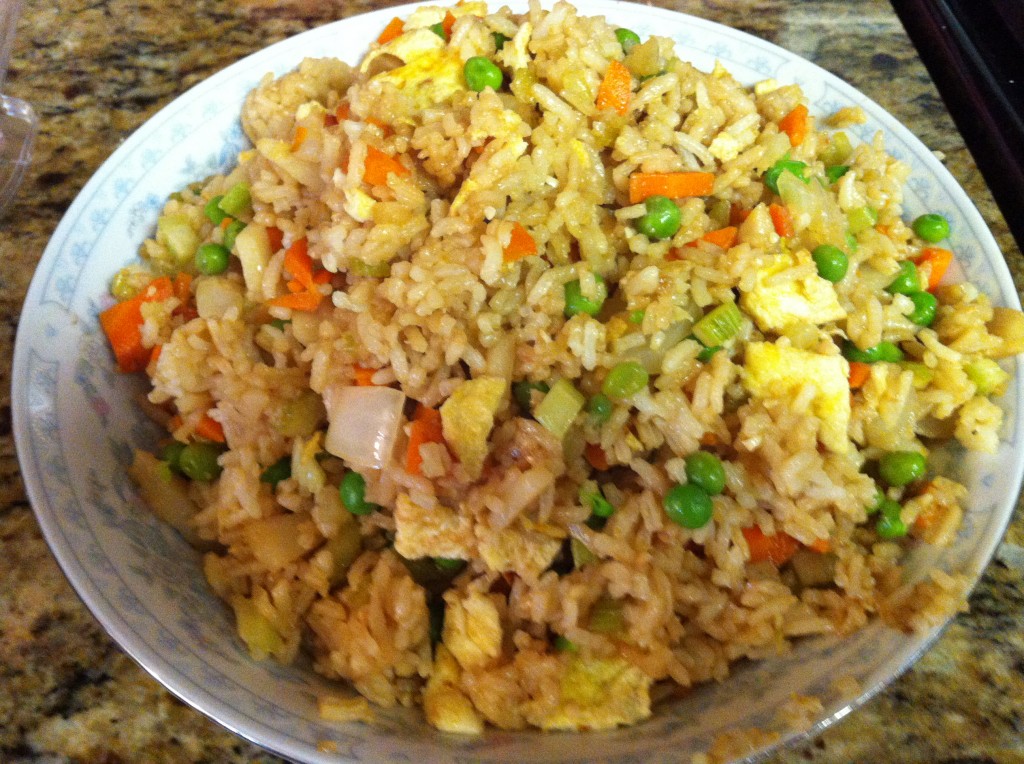
I love fried rice, so I set out to discover a way to make fried rice that taste just like the chinese restaurant versions. Â After several tries, I came up with the following. Â It is so very delicious and my family gobbles it up quick when I make it. Â You could add meat to it as well, but we like our fresh veggies and soy sauce. Â Hope you enjoy!
Ingredients
2 TBL Sesame Seed Oil
1 TBL Olive Oil
1 cup chopped fresh carrots
1 cup chopped fresh celery
1 cup chopped white onion
2 TBL Minced Garlic
1 8 oz can water chestnuts, chopped
1/2 cup bean spouts
5 cups Cooked White Rice (I use the Jasamine Rice found in the oriental section of the grocery store)
3 eggs, beaten
2 TBL Oyster Sauce
3 TBL Soy Sauce
1 cup frozen peas, thawed
In a large skillet add both the sesame seed oil and olive oil. Â Heat skillet over medium high heat. Â Add Carrots, Celery, Onions, Garlic, bean sprouts and water chestnuts. Â Saute until crisp tender. Â Remove from heat while you cook the eggs.
In a heated nonstick skillet add about half of the beaten eggs. Â Tilt your pan so that the eggs look like a giant sized pancake. Â When the middle bubbles and the edges are dry, flip the entire egg to the other side. Â Cook until done and transfer to the cutting board. Â Repeat with the remaining eggs. Â Cut cooked eggs into strips and set aside.
Turn vegetables back to medium heat and add the cooked rice. Â Stir until al of the veggies are mixed into the rice. Â Pat down rice mixture and place eggs on top. Â Mix again, being careful to scrape the bottom of the pan so that the rice doesn’t burn. Â Add the Oyster Sauce and Soy Sauce. Â Stir again until the sauces are incorporated into the rice.
Add peas and stir again. Â Remove from heat and let stand for a few minutes to let the flavors blend. Â Serve with extra soy sauce on the side.
July 20th, 2012 § Comments Off on Chocolate Chunk Brownies § permalink
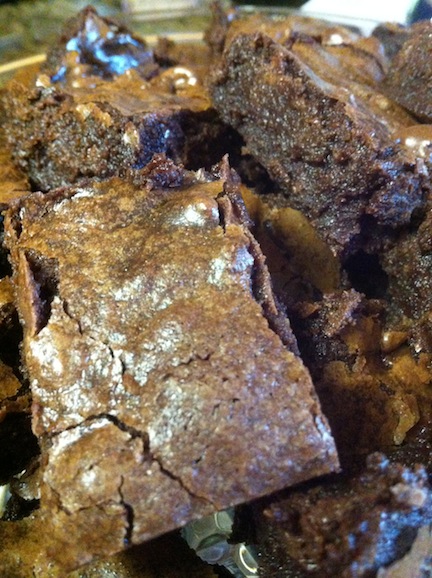
I truly can’t keep these brownies in stock around our house. Â They are super moist and taste almost like fudge. Â The chocolate chips in the batter make for super rich treat. Â Be sure to cut the brownies small. Â They are VERY rich. Â Hope you enjoy.
Ingredients
4 oz. Unsweetened Baking Chocolate
3/4 Cup Butter
2 Cups Sugar
3 Eggs slightly beaten
1 1/2 tsp Vanilla Extract
1 Cup Flour
1 Cup Chocolate Chips
1 Cup Walnuts or Pecans (optional)
Directions
Melt chocolate baking squares and butter in a microwave safe dish. Â I do this in one minute increments, stirring after each minute, until melted. Â Stir in Sugar and Vanilla Extract. Â Add the eggs and stir until completely blended. Â Add flour and mix until everything is incorporated. Â Add chocolate chips and nuts if you’re using them.
Line a 9 x 13 inch pan with foil leaving “handles” one each short end of the pan. Â Grease or spray with cooking spray. Â Pour the contents of your bowl into the pan. Â Bake at 350 degrees for about 30 to 35 minutes. Â Pull out of oven and let cool in pan. Â When cool, lift your foil “handles” and pull the brownies out and invert onto a cutting board. Â If not completely cool, be sure to let them cool further. Â When completely cool, slice with a serrated knife and enjoy.


